
Introduction
The mech genre has been experiencing a resurgence in recent years, driven by the popularity of anime series such as Mobile Suit Gundam, The Witch From Mercury, and GQuuuuuuX, as well as games like the long-awaited Armored Core VI: Fires of Rubicon.
About Plastic Model Kits
Countless collectibles, such as action figures and statues, are being released on an almost daily basis, but the mech genre has always been known for its plastic model kits.
Plastic model kits are toys that you put together by yourself, which are made by injecting melted plastic into molds. They are often cheaper than pre-assembled/pre-painted figures due to their manufacturing costs and scale of production. Some of them are miniatures of actual machines, such as aircraft, ships, and cars, while character model kits are based on machines and characters featured in fictional anime, manga, and games.
Modern character model kits are made using parts made with multicolored materials, and all you need is to follow the instruction manual and remove the parts from the runners (sprues/frames) with a pair of nippers. Once you’re done putting them together, you can enjoy displaying them like figures.
However, you may have seen customized and painted kits and wondered, “How are they made?”
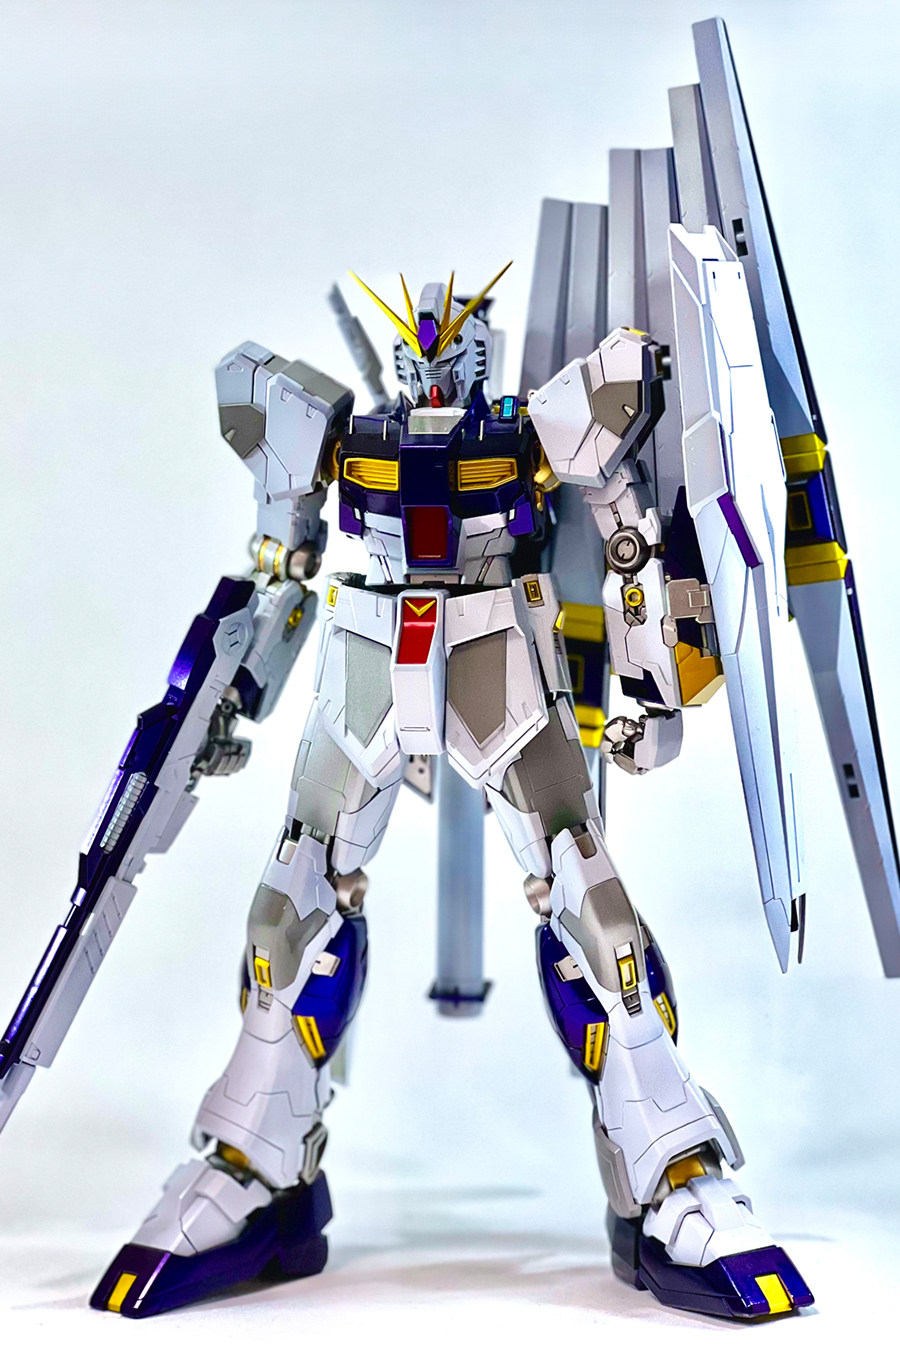
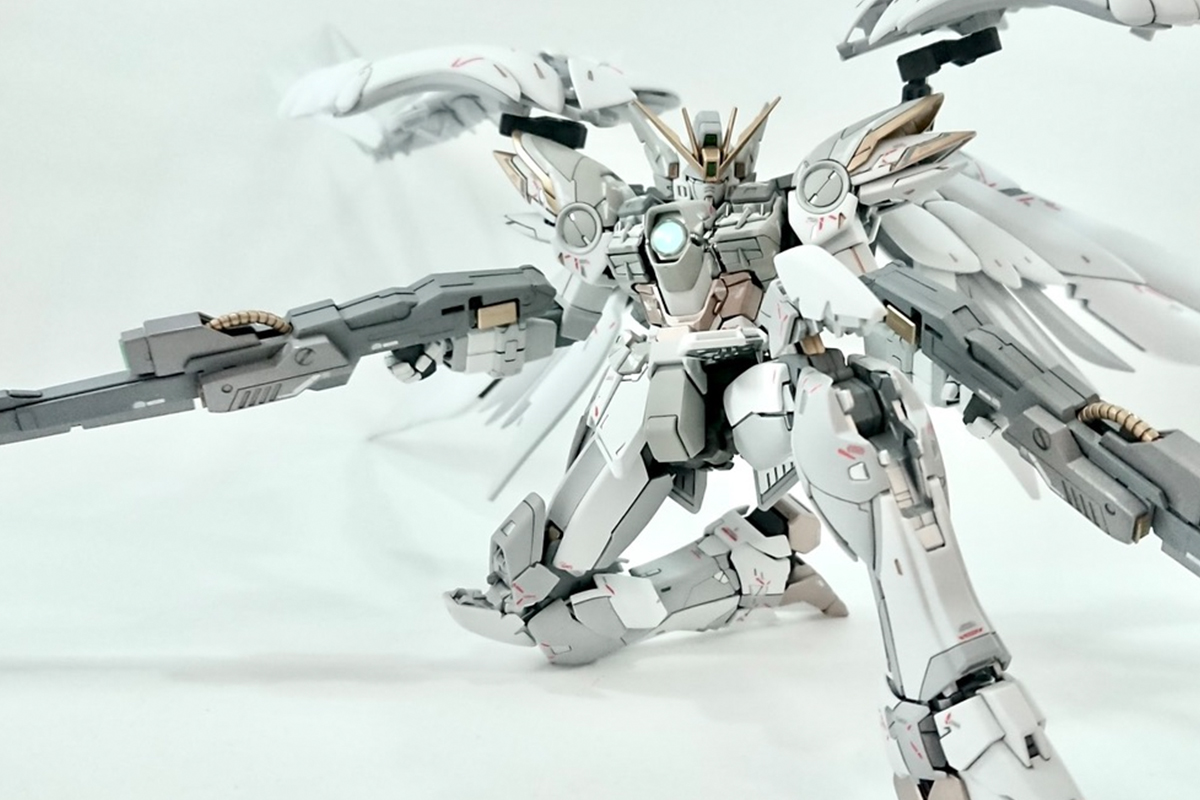
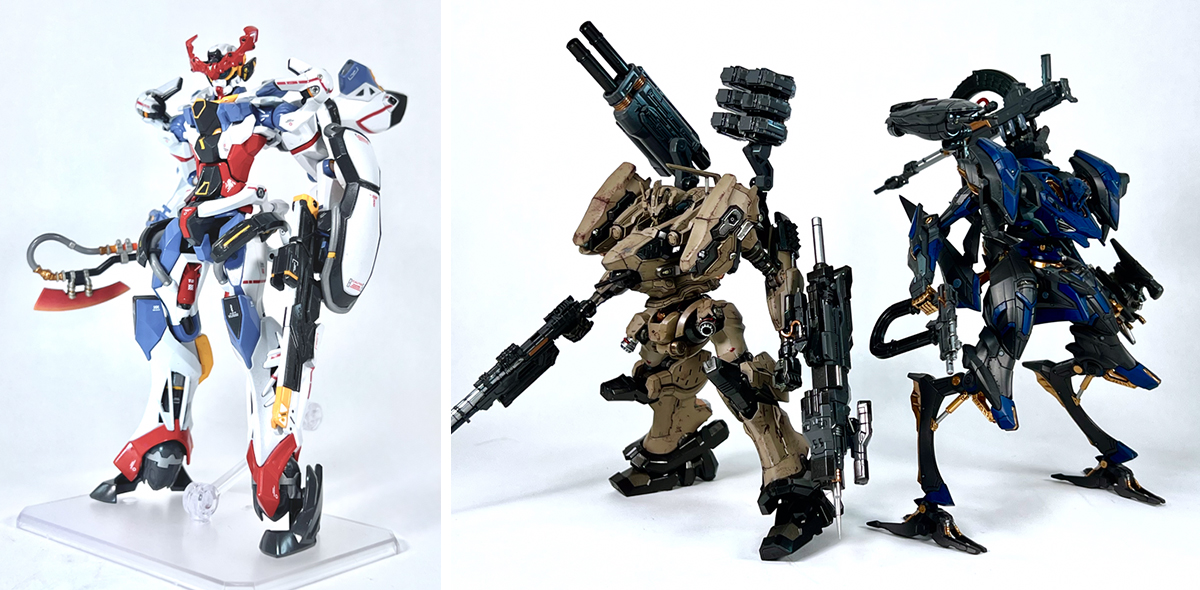
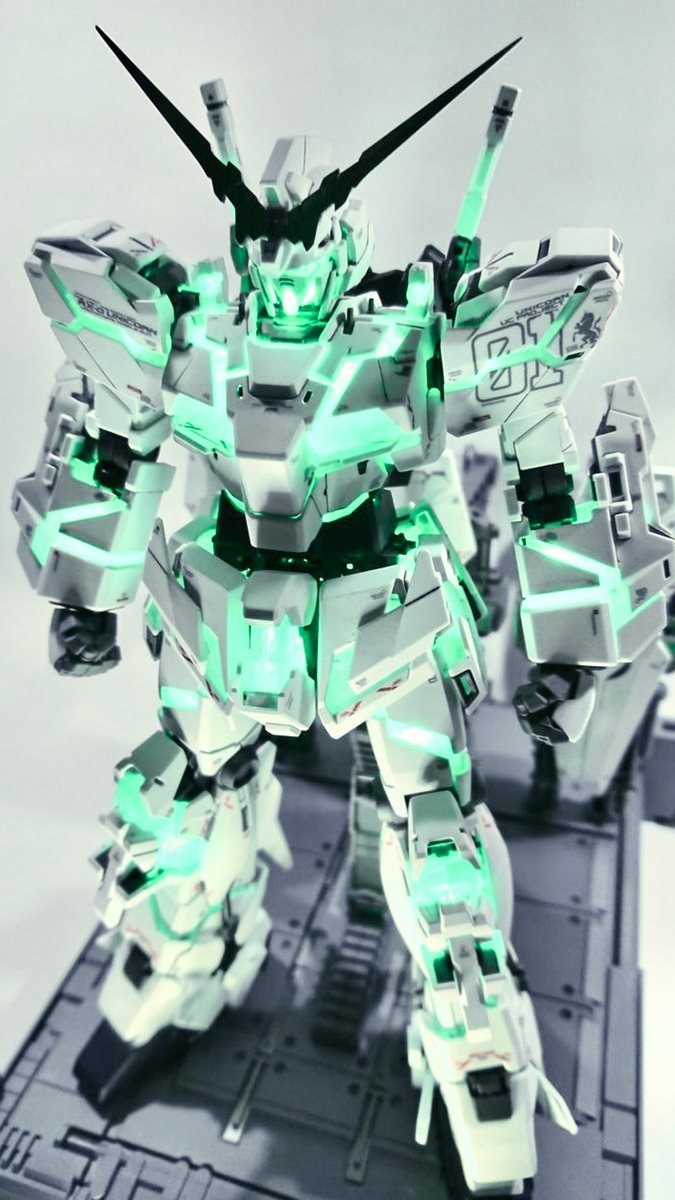
(All of the kits in the photos up to this point have been painted.)
There are countless tips and tricks on social media and YouTube, but I’ve found it hard to grasp what the entire building/painting process is actually like. As an amateur modeler myself, I decided to build and paint a Tokyo Otaku Mode-themed kit to introduce you to the exciting world of plastic model kit-making!
How I Make Plastic Model Kits
Please note that this is a broad guide to the entire building/painting process, and I won’t be going into detailed tutorials. Also, keep in mind that the methods and tools in this article are what I use, and there is no single “correct” way that you have to stick to, so use whatever feels right to you!
Step 1: Deciding Concepts
I often start by creating a couple of concepts and themes that function as the core of the project:
- Use methods and tools that are currently being used by modelers in Japan
- Use 3mm joints to combine kits released from different companies
- Use an item available on the TOM Shop as a foundation
Furthermore, these are elements that I also want to incorporate:
- An exo-suit-like mech intended to assist human movements and carry packages
- No standardly-equipped weapons
- An industrial color scheme and design / Colors where dirt and grime stand out
- A silhouette that incorporates both curved, organic lines and hard, bulky designs.
Step 2: Choosing Parts and Assembly
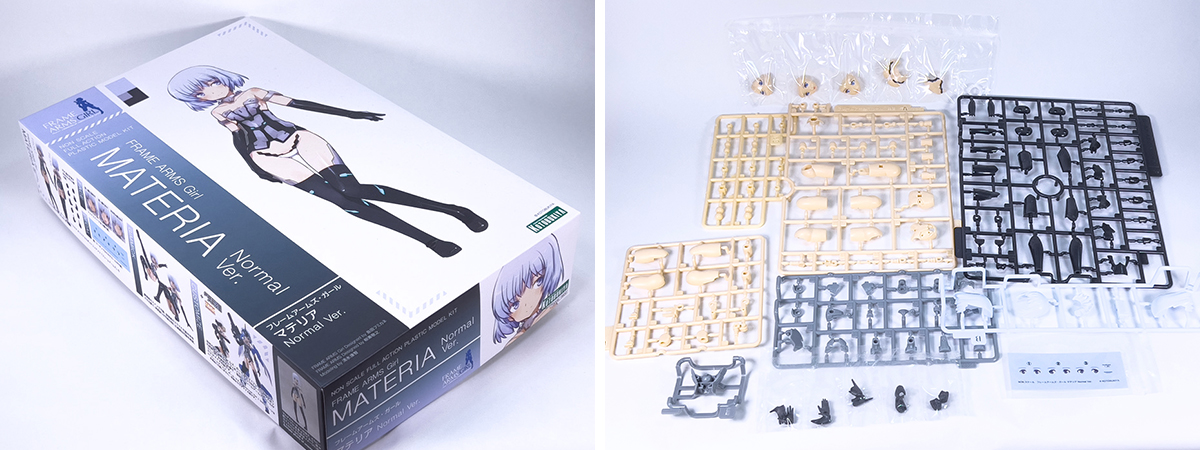
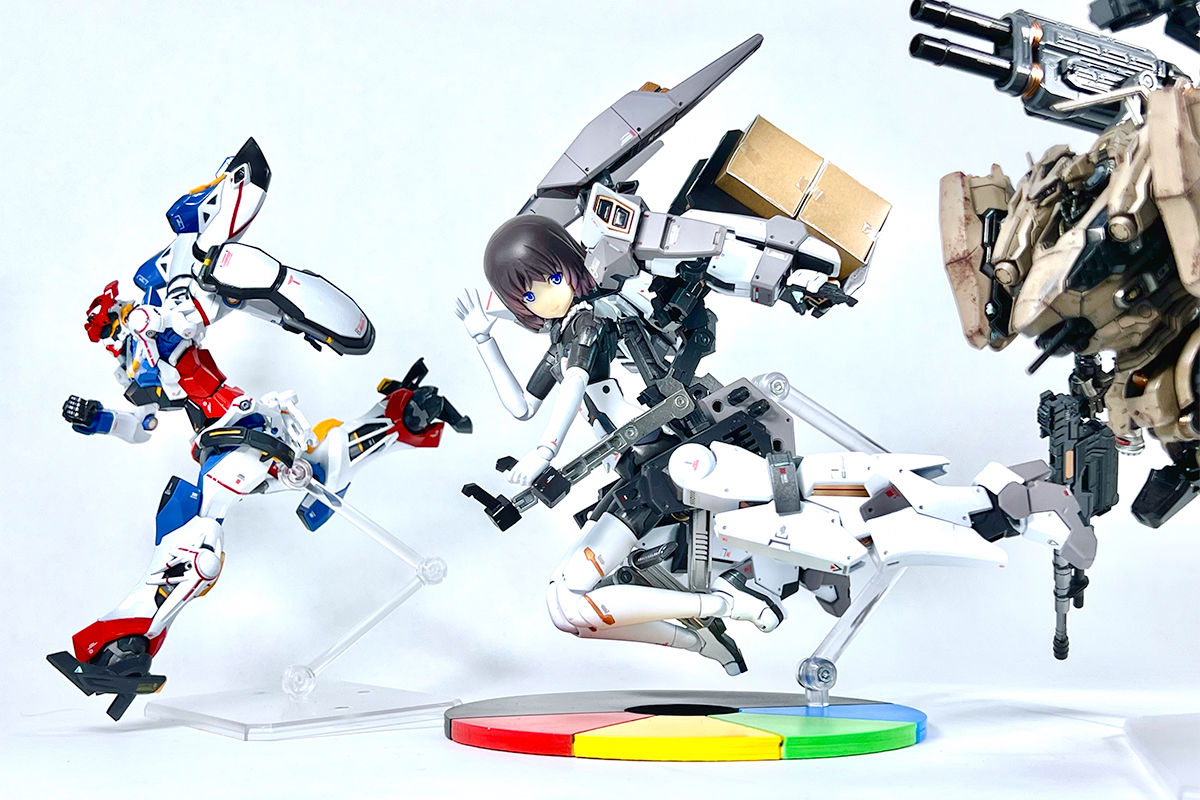
For this project, I’ll use the FRAME ARMS Girl Materia as the central piece.
It has a simple design compared to other FRAME ARMS Girl and Megami Device kits that have recently been released by Kotobukiya.

Since I also want to make an exo-suit-like mech, I mixed and matched parts I found in my collection to make this:
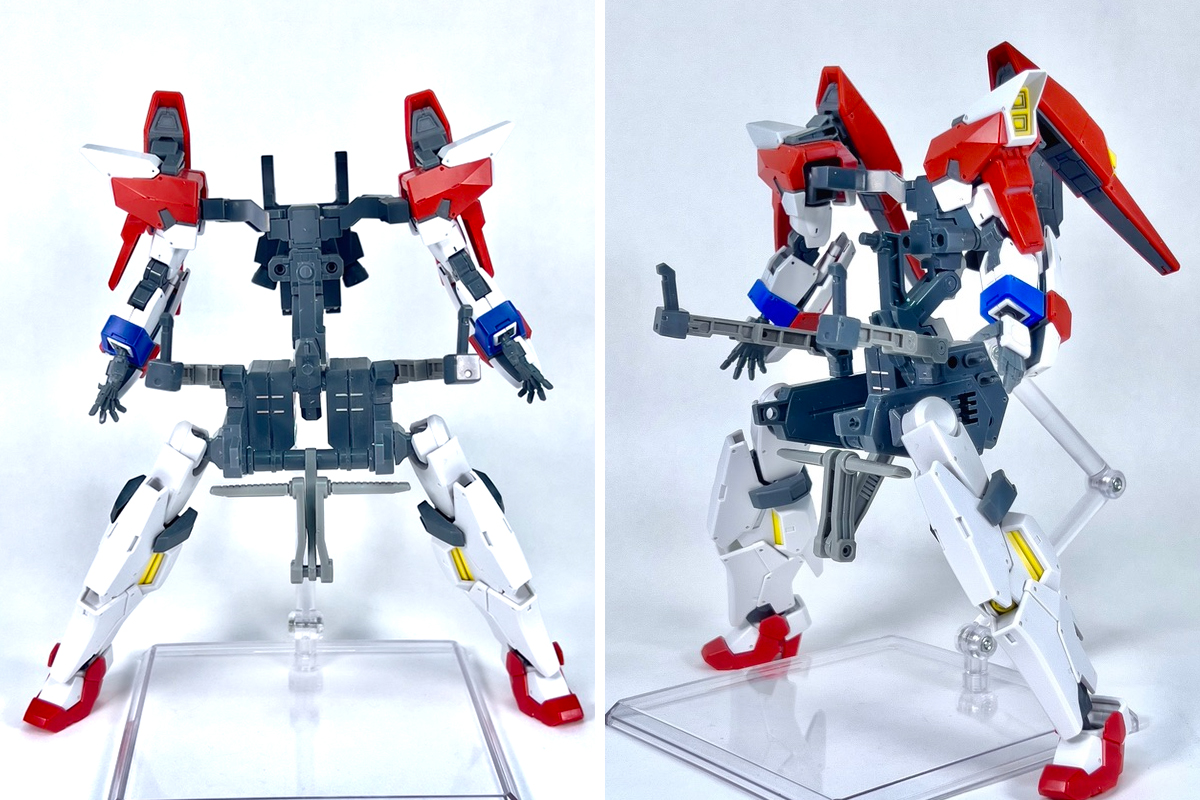
The gray body section is the KOTOBUKIYA FRAME ARMS Girl Exosuit Unit, the arms are from BANDAI‘s HG Gundam AGE-3 Orbital, and the legs and hands are from the HG Gundam Plutone. The backpack is from the HG Gundam Ground Type, which can probably be used as a rack to mount miniature packages on its back. Some of the joints and spacers are from the 30MM Option Parts Set 19 (Multi Shield).
All of these parts were attached using 3mm joints, which have become sort of an industry standard that allows you to mix and match different components of kits from various companies without any glue.
The arms and legs were designed by Kanetake Ebikawa and Takayuki Yanase, who worked on the designs of the main Gundams from Gundam 00, and I’m a fan of their machines with heroic appearances while having a streamlined, industrial feel.
I also went and added rivet-like details to some of the corners of the parts by opening a hole with a 0.5mm drill bit, widening the surface of it with a 1mm drill bit, and flattening out the hole with a 1 mm spin blade.
Step 3: Color Scheme
Before painting the kits, I take photos of the instruction manual and the mech parts to create a rough layout of the color scheme based on the concept. Doing so will help you see how the colors contrast with each other and how the overall project might look in the end.

(I used the photo app on my phone and scribbled on the colors.)
I’m thinking about going with a NASA punk-inspired color scheme using white paint for the arms and legs for both the pilot and mech, a dark gray for the frame parts, and copper paint for the accents.
Step 4: Painting
As you may know, painting is a process where you add paint to the parts using paint brushes, canned spray paints, or airbrushes, which I’ll be using for this project.
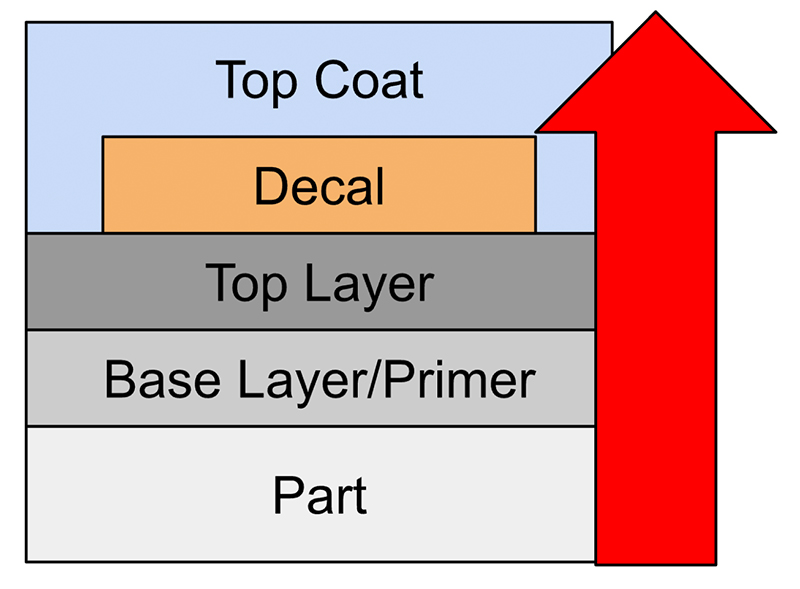
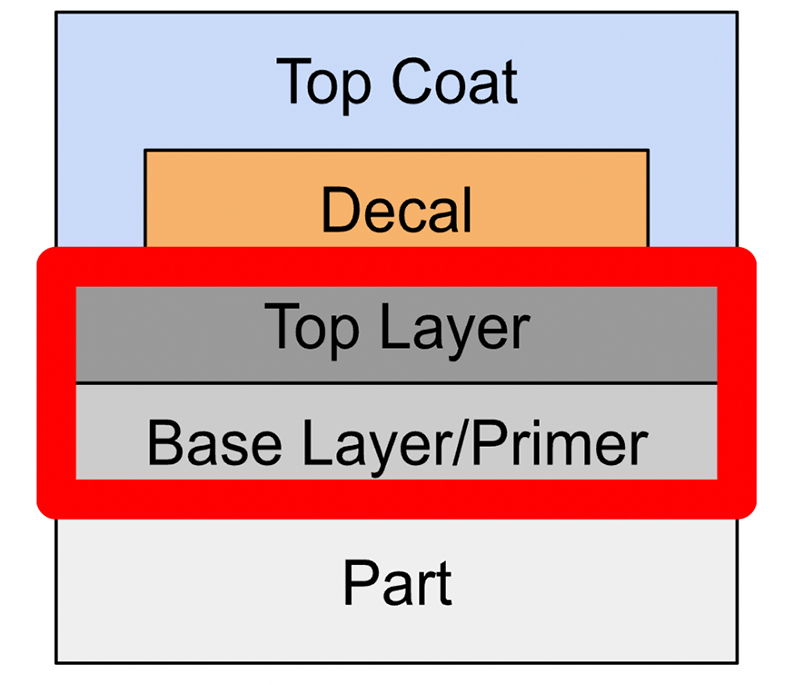
The key to painting when it comes to plastic model kits is to use multiple layers.
You start by choosing a base layer color that works well with the top layer. Apply the top layer, stick on decals (optional), and then cover all of the layers with a top coat.
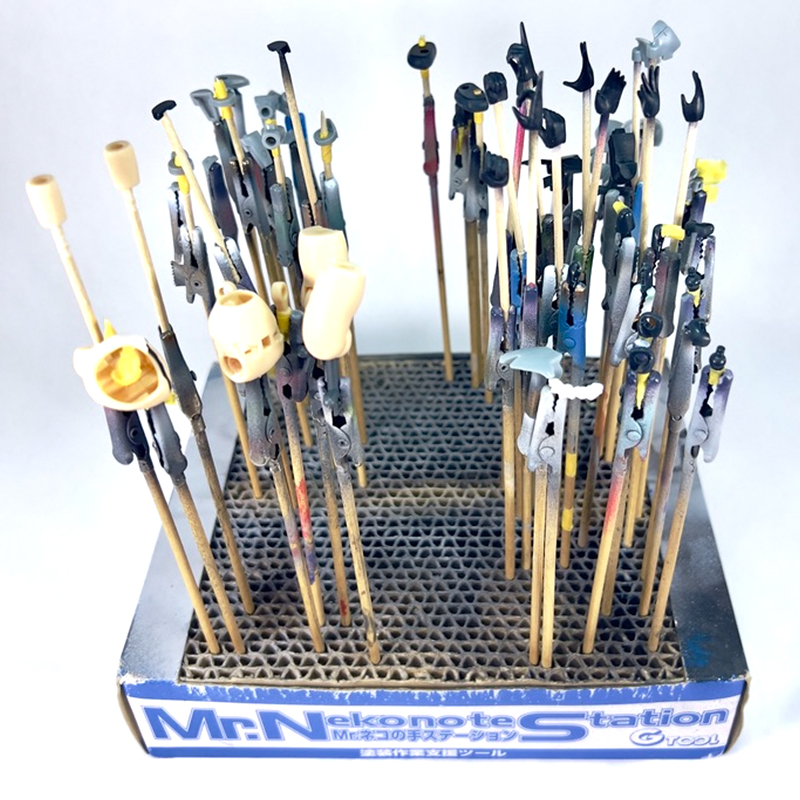
I disassembled the kits and parts, glued some of the seamlines, and attached painting clips to make the process easier.
These are the parts for the FRAME ARMS Girl Materia: The parts on the right will be painted white, while the parts on the left will be painted dark gray or gunmetal gray.
*Always wear a respiratory mask and gloves when sanding or working with paints.
This is what the kit looks like. Once the base and top layer have been applied:
I’m satisfied with how it looks, so let’s move on to the next step!
Step 5: Decals/Top Coat

I took more photos and added red scribbles to the places where I want to apply water slide decals.
The FRAME ARMS Girl Materia is probably wearing a skin-tight suit made using futuristic technology, so I focused on adding details to the sections that might have instructions on how to detach the pieces when cleaning or repairing it.

For the mech parts, I’m thinking about applying caution marks and maintenance requirement marks to places near the thrusters and rotating/retracting components that may be hazardous.
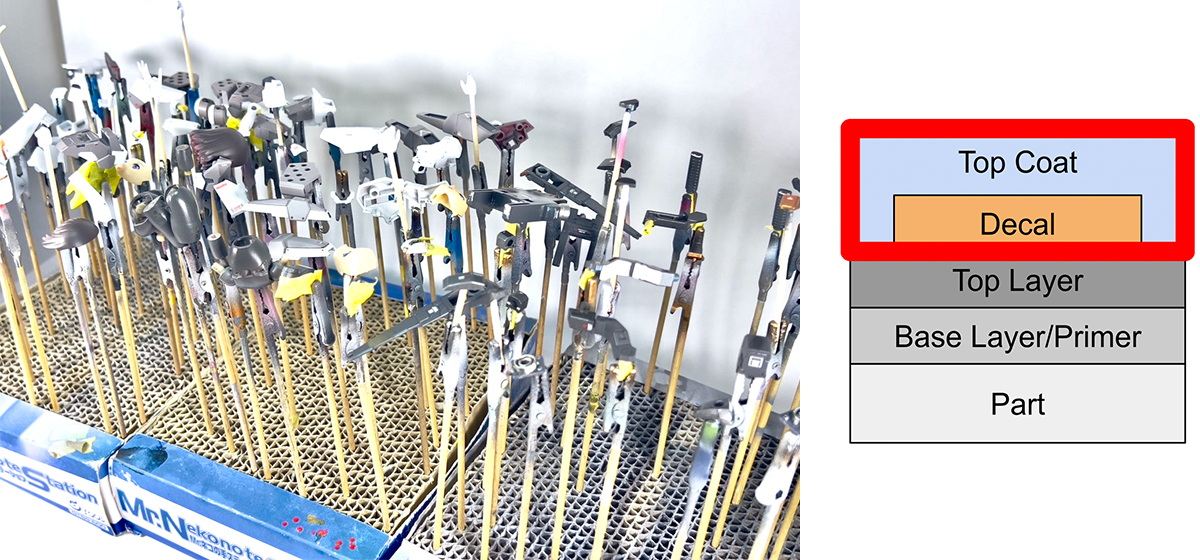
Once all of the decals are applied, I disassembled the parts again, attached painting clips, and sprayed on a top coat. As its name suggests, this is the outermost layer that protects the layers of paint underneath from scrapes, while also preventing the decals from peeling off or tearing.
I’m going with a clear matte top coat for the white and light gray armor parts and a clear glossy top coat for the frame to create different textures.
Now all I have to do is put them back together!
Step 6: Complete!
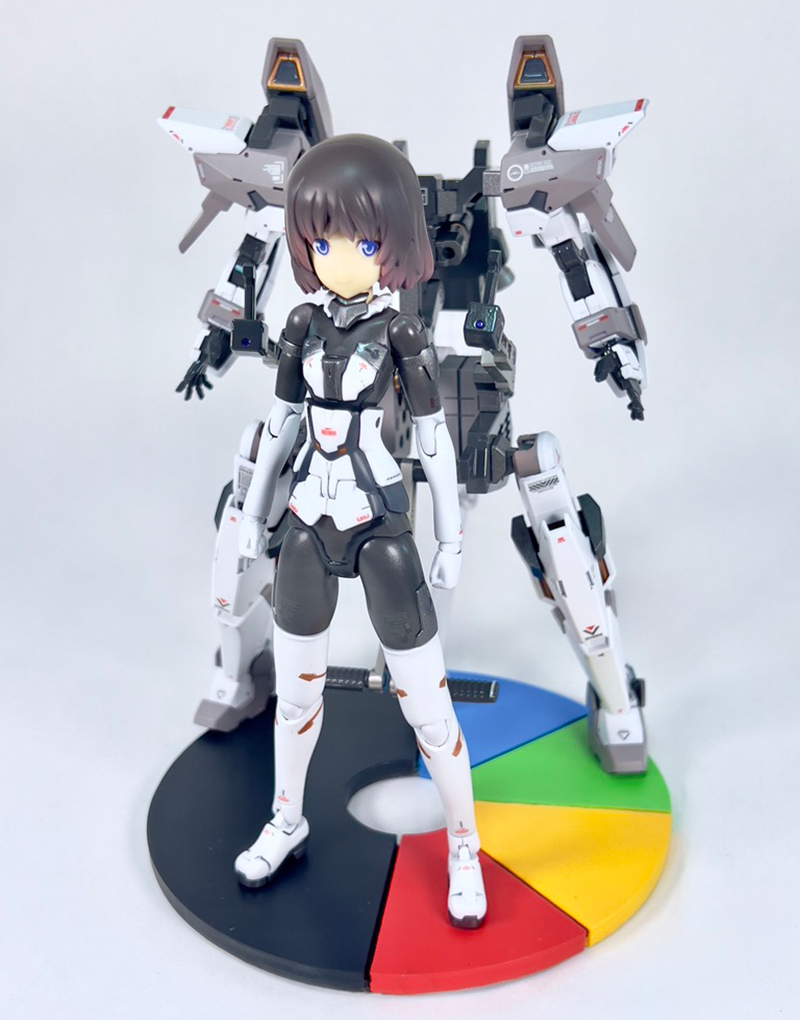
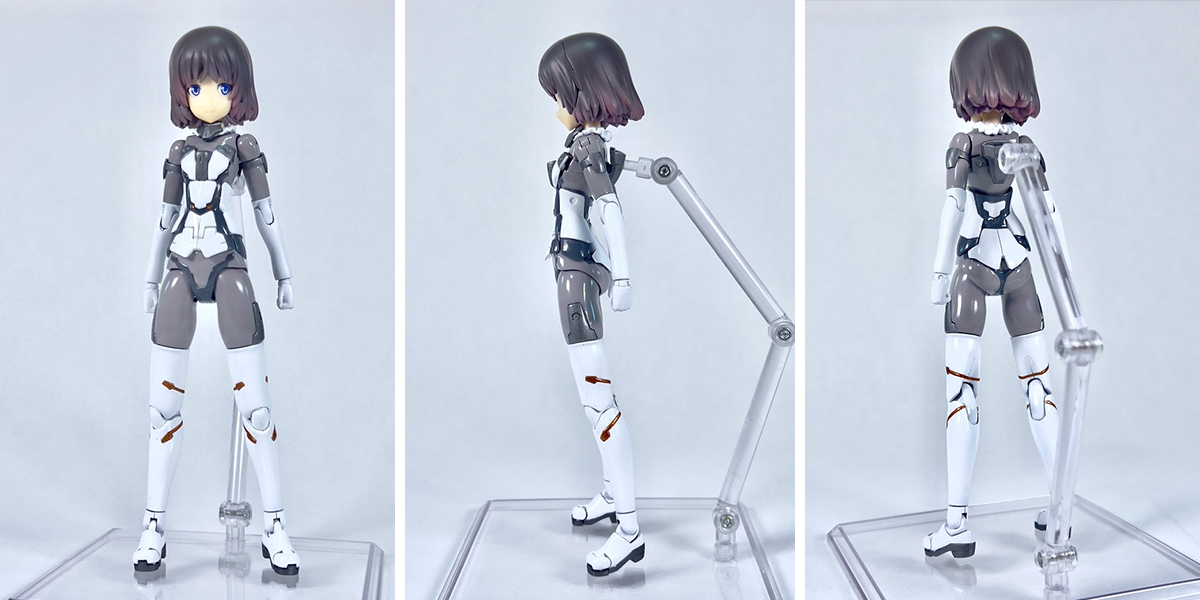
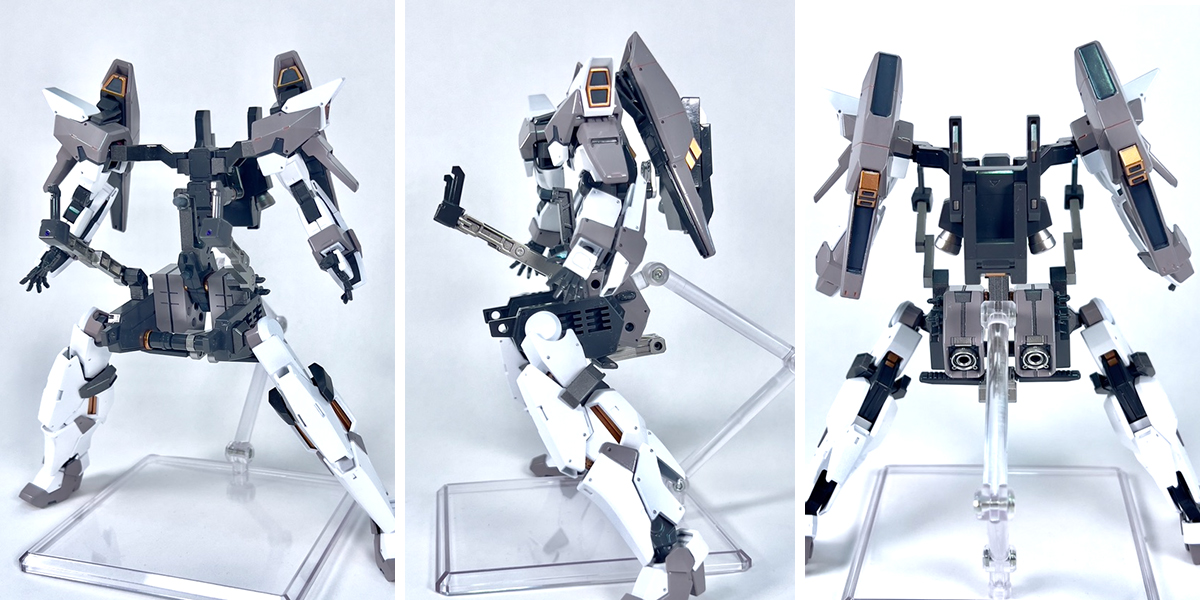
This is what it looks like!
I also made a display base inspired by the “O” from the TOMZINE logo using an FDM 3D printer and polyester putty.
(A clear black coat was applied to the gray sections of the arms and legs of the FRAME ARMS Girl Materia, which is why they look darker than before.)
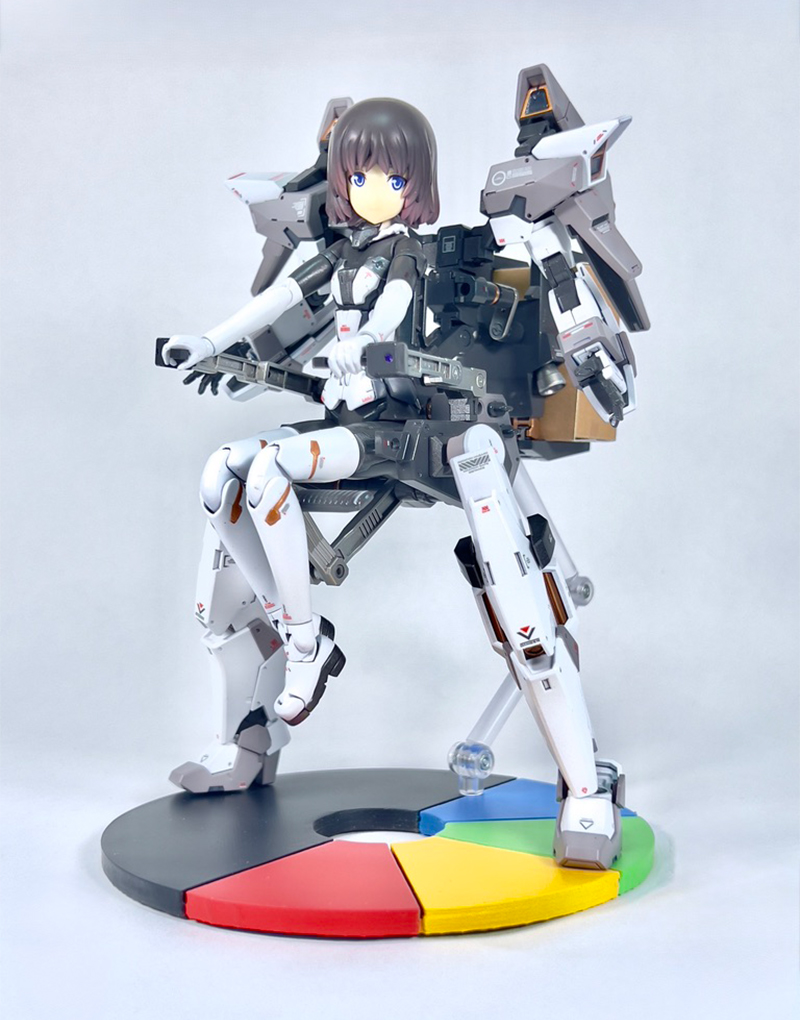
This is how she rides the mech to deliver packages.
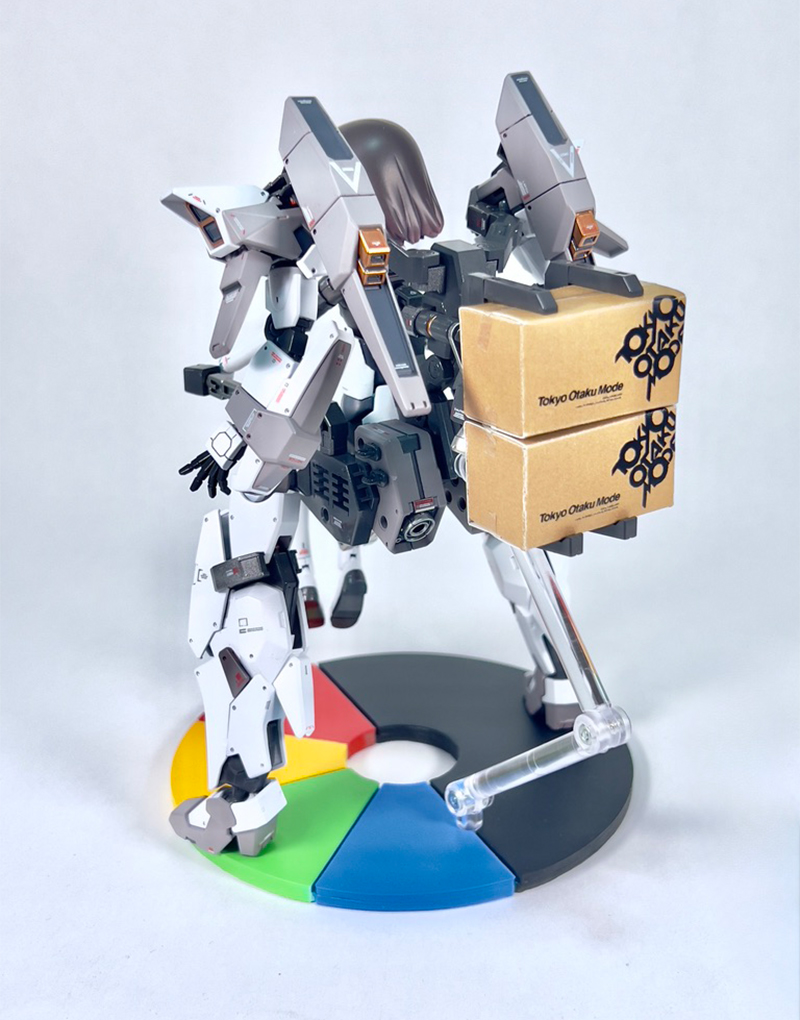
I also made miniature cardboard boxes. They’re based on the designs of the boxes that were used at the Tokyo Otaku Mode shop up until a few years ago.
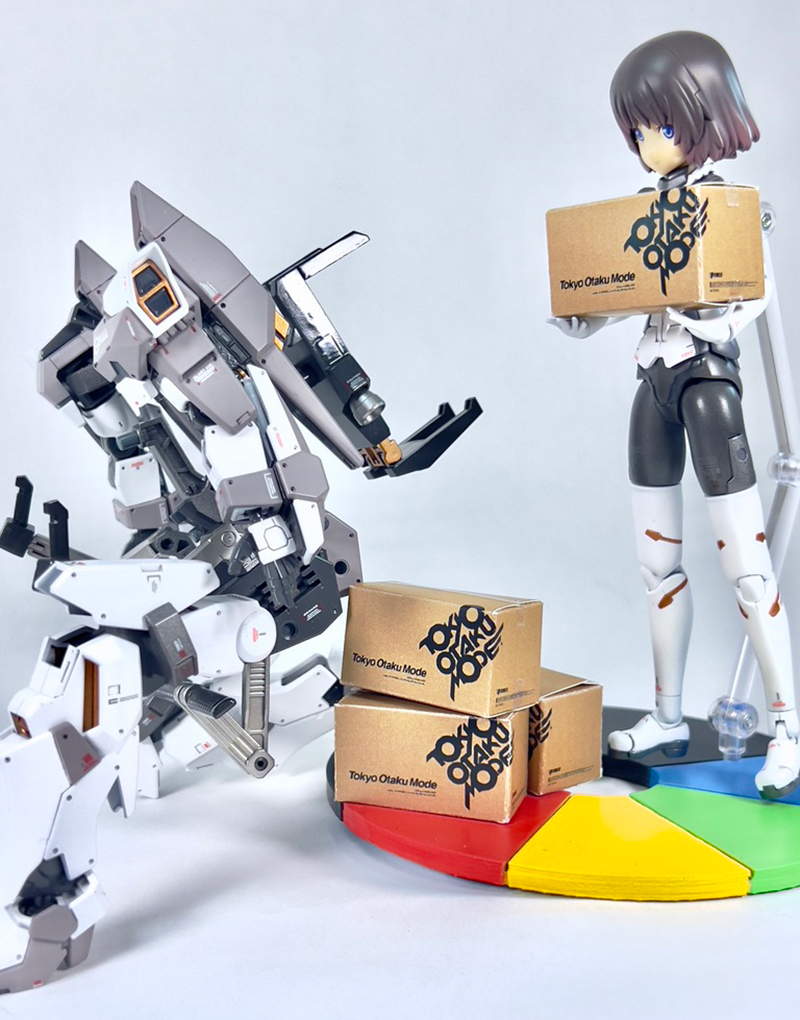
Loading/Unloading Packages
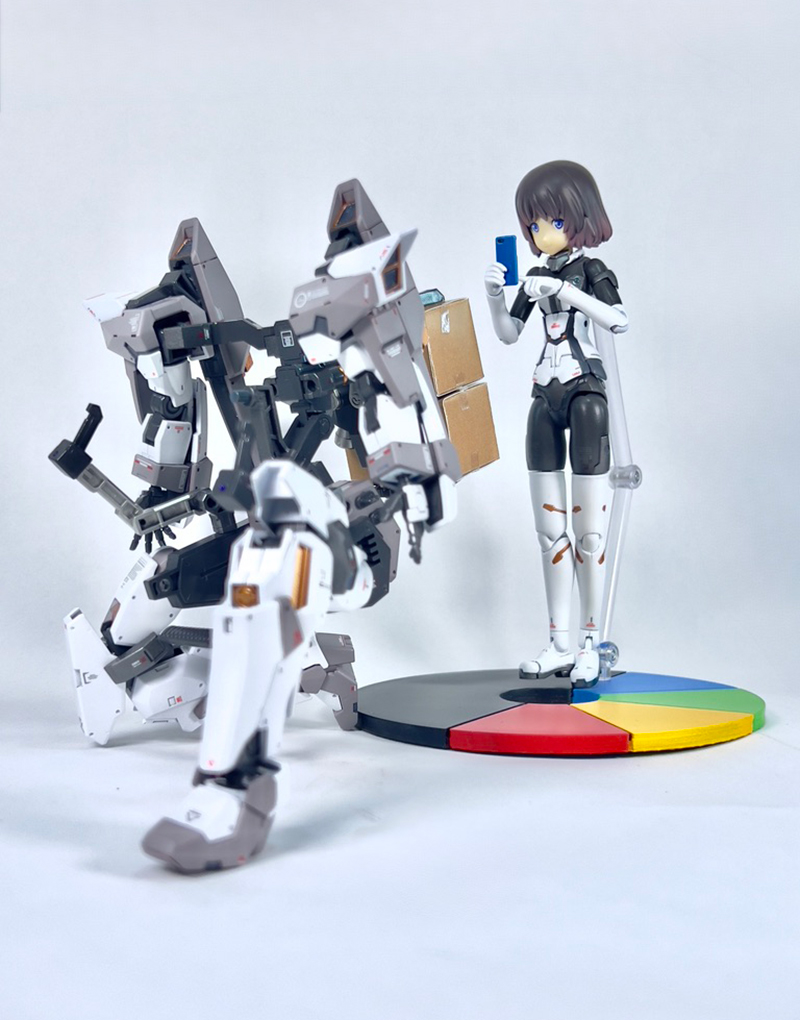
She’s checking the next delivery address on her phone.
Fun Variations
There are 3mm joints on the FRAME ARMS Girl Exosuit Unit.
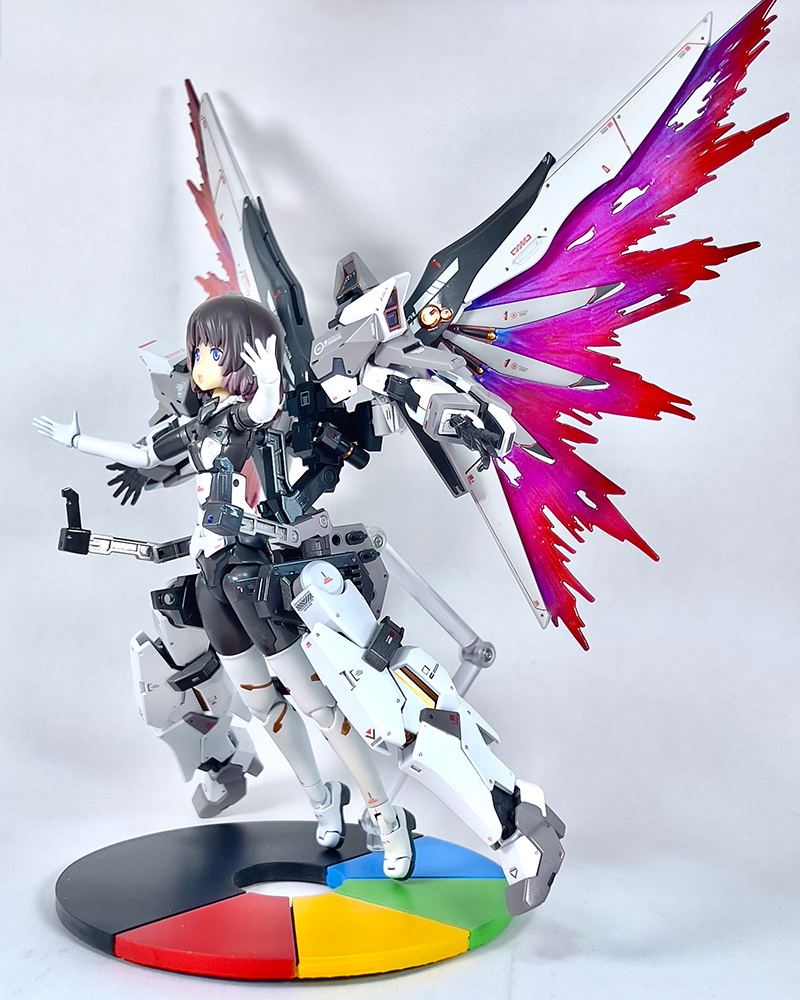
They can be used to attach parts like these!
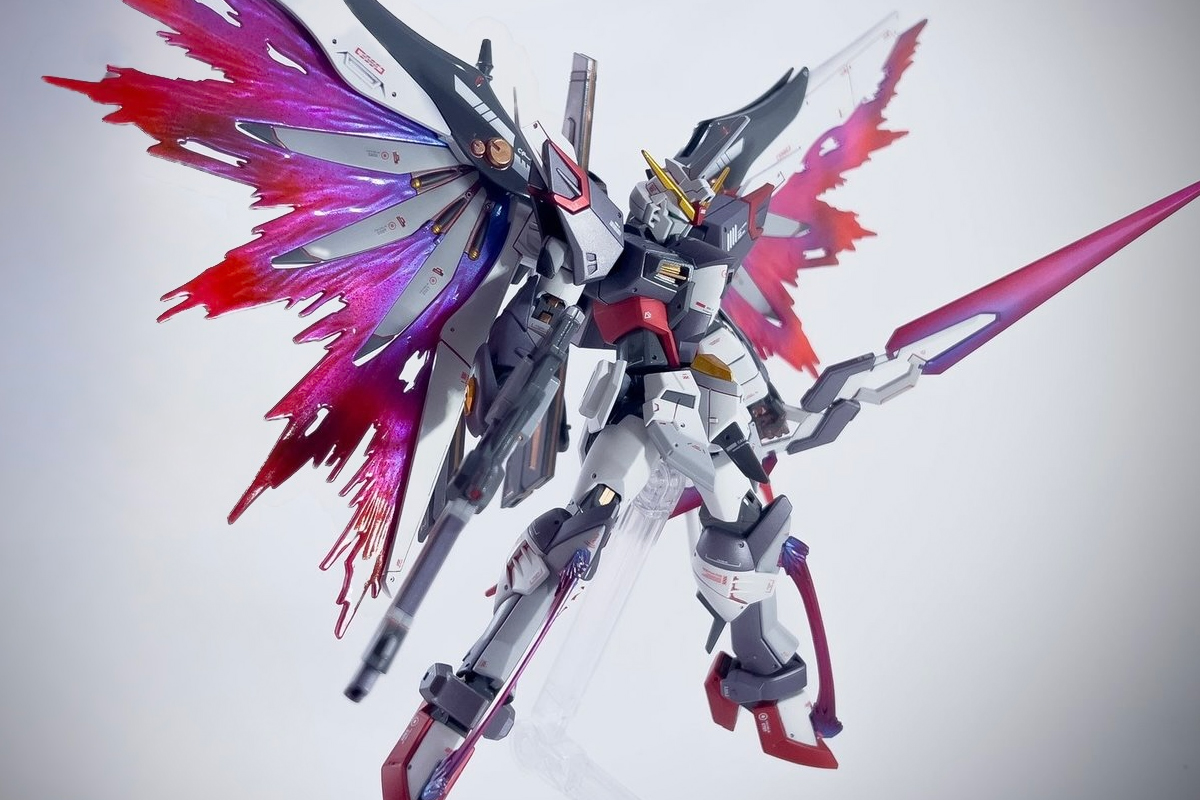
(Wings from the BANDAI HG Destiny Gundam that I painted in the past.)
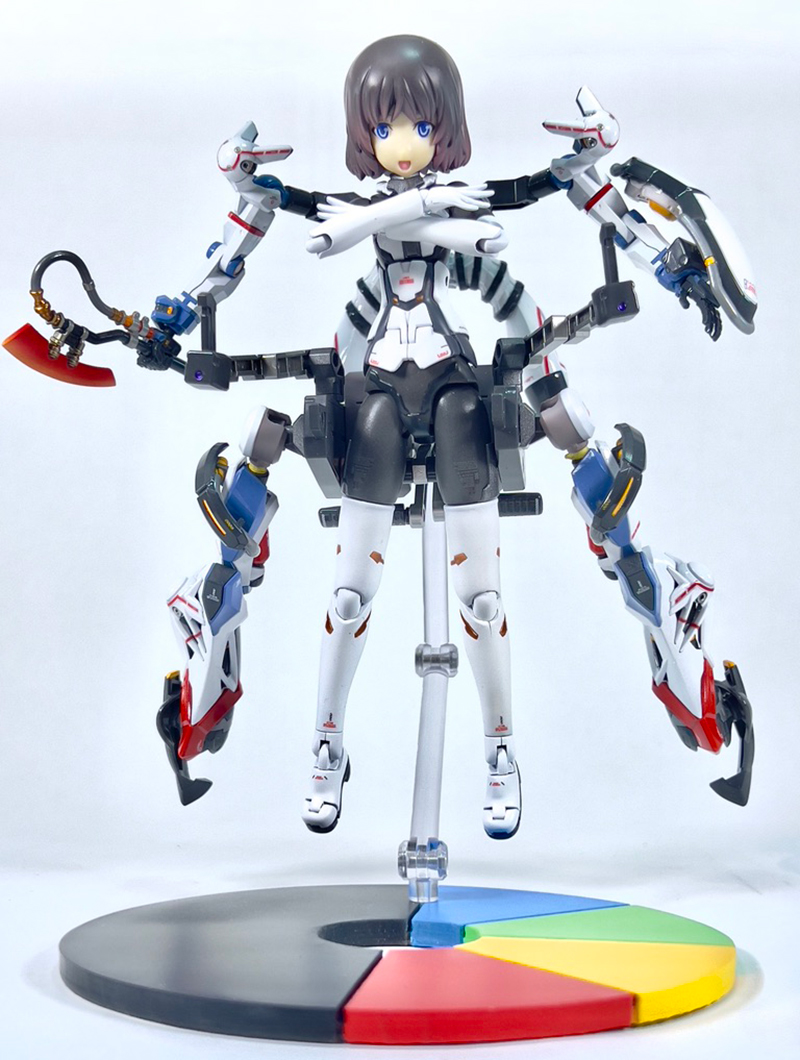
Arm and leg parts can be attached!
(Arms and legs from the BANDAI HG GQuuuuuuX)
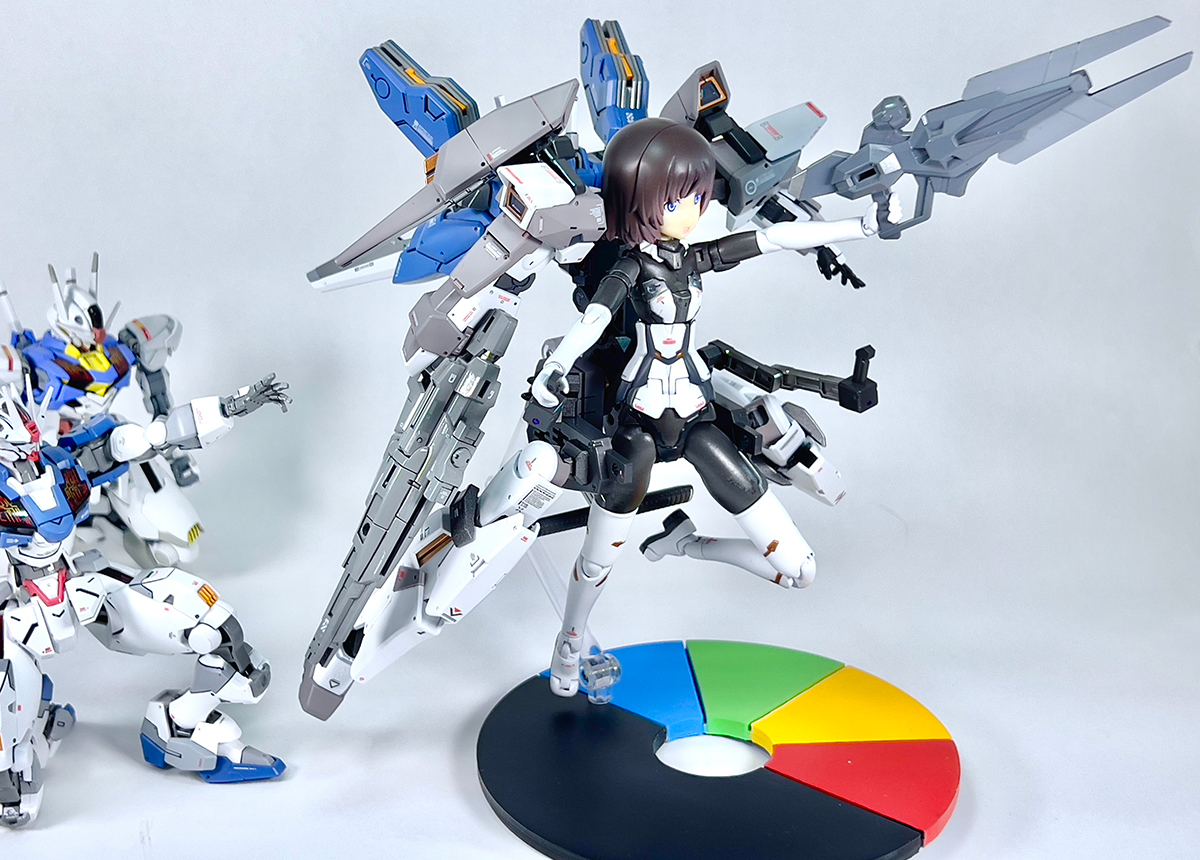
The hand parts are almost the same size, too!
(Rifle from the BANDAI HG Aerial / Backpack and rifle from the BANDAI HG Aerial Rebuild)
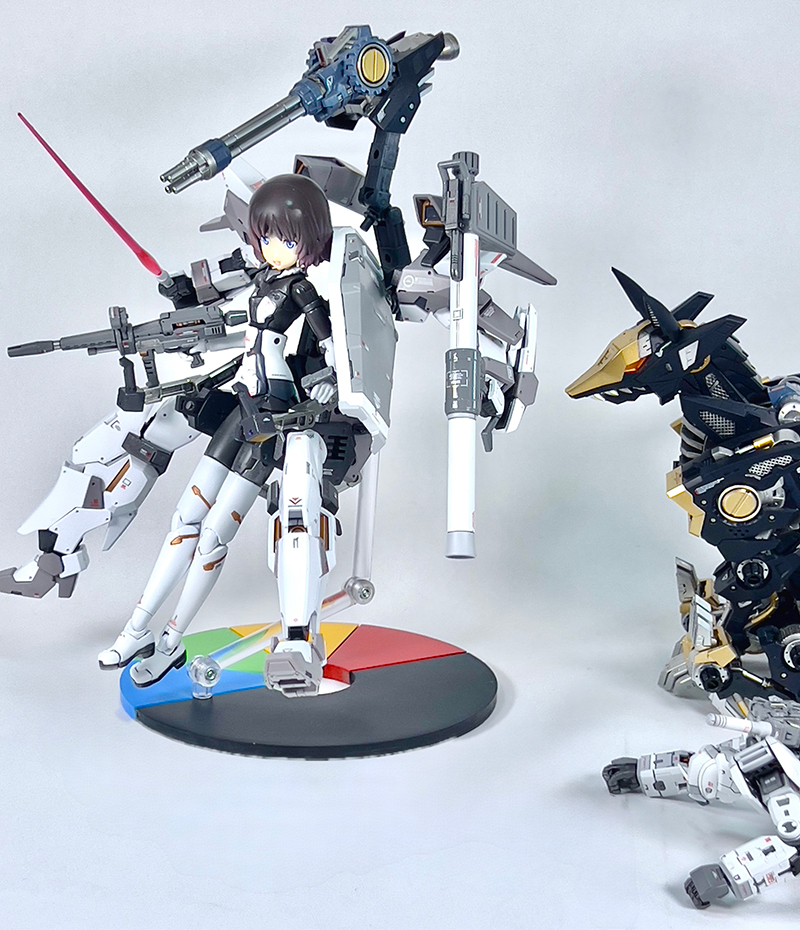
(Gatling Gun from the KOTOBUKIYA HMM Shadow Fox / Rifle, shield, beam saber from the BANDAI RG Gundam 2.0.)
It took about one entire week to complete this project, and here are some of the paints and tools I used:
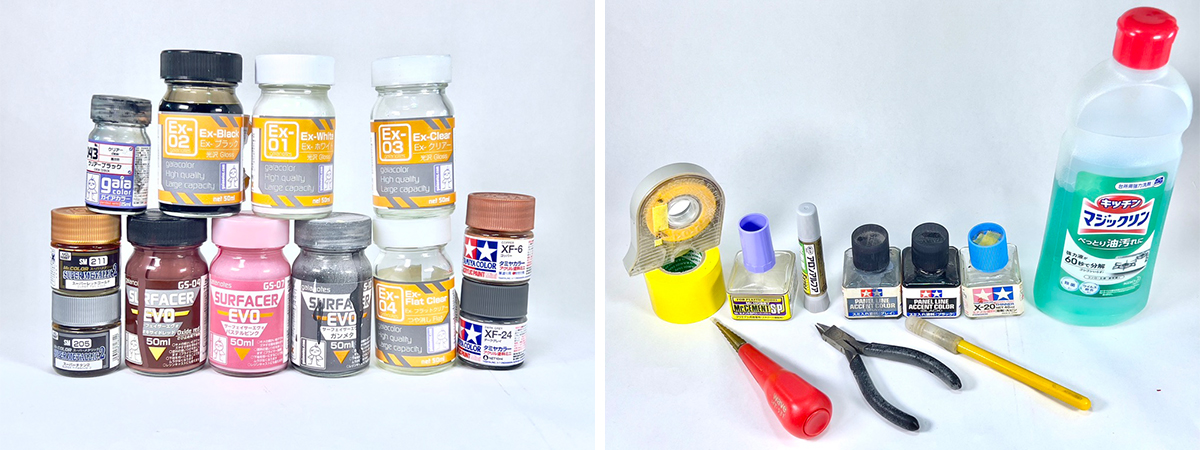
(Please note that some paints and solvents may be restricted in certain regions.)
This is only one example of a combination with infinite variables, such as kits, paints, crafting methods, and more. These steps can also be followed when painting figures and garage kits (like those introduced in this article!), so I hope you’ve gained a rough understanding of how they’re made, and actually try them out!